VMware Cloud Foundation 5.1 vSAN ESA Deployment
VMware Cloud Foundation 5.1 now brings support for vSAN ESA! In this blog post, I’ll discuss the pre-requisites and show an example of how to deploy a new workload domain that can support vSAN ESA.
For further information and deep-dives on vSAN ESA, check out VMware vSAN Blogs.
Pre-Requisites:
- VCF 5.1: I’m using a VMware Cloud Foundation Lab Constructor (VLC) environment.
- Basic knowledge of VLC / Host Commissioning Process / Workload Deployment Process
- MGMT Domain has been deployed already. We’ll be deploying a new WLD.
- vSAN ESA requires the WLD to be deployed in vLCM mode.
Prior to VCF 5.1 there were some limitations around this, but 5.1 has full support.
NOTE: There is currently no migration process to migrate an existing domain to vLCM mode, this is likely to be added in a future release.
We must deploy a new WLD to enable this mode.
VLC includes a library of sample scripts, I’ll detail the modifications that were made to enable an ESA deployment.
1: VLC Host Deployment
VLC includes a sample called “add_3_hosts.json” that we can use to deploy 3x ESXi nested hosts for a WLD domain. The default settings deploy a 4CPU/32GB host, with a small VMDK for vSAN Cache Tier.
{
"name": "esxi-10",
"cpus": 4,
"mem": 32,
"disks": "16,30,300",
"mgmtip": "10.0.0.110",
"subnetmask":"255.255.255.0",
"ipgw":"10.0.0.221"
}
We need to boost the host memory so there’s enough to support ESA+NSX. We’ll also update the disk config – the 30GB disk was intended to be the vSAN OSA Cache Tier, but this is not used for ESA. Change every host to 64 mem and change the 30GB disk to 300.
{
"name": "esxi-10",
"cpus": 4,
"mem": 64,
"disks": "16,300,300",
"mgmtip": "10.0.0.110",
"subnetmask":"255.255.255.0",
"ipgw":"10.0.0.221"
}
Use the VLC GUI to deploy the expansion pack hosts with your new updated JSON.
2: Host Commissioning to SDDC Manager
Again, VLC includes a sample that we can modify – “add_3_hosts_bulk_commission VSAN.json”
{
"hostfqdn": "esxi-10.vcf.sddc.lab",
"username": "root",
"password": "VMware123!",
"storageType": "VSAN",
"networkPoolName": "mgmt-networkpool"
}
We want to update the storageType to VSAN_ESA for each host.
{
"hostfqdn": "esxi-10.vcf.sddc.lab",
"username": "root",
"password": "VMware123!",
"storageType": "VSAN_ESA",
"networkPoolName": "mgmt-networkpool"
}
Now in the VCF GUI we can commission the hosts we’ve deployed.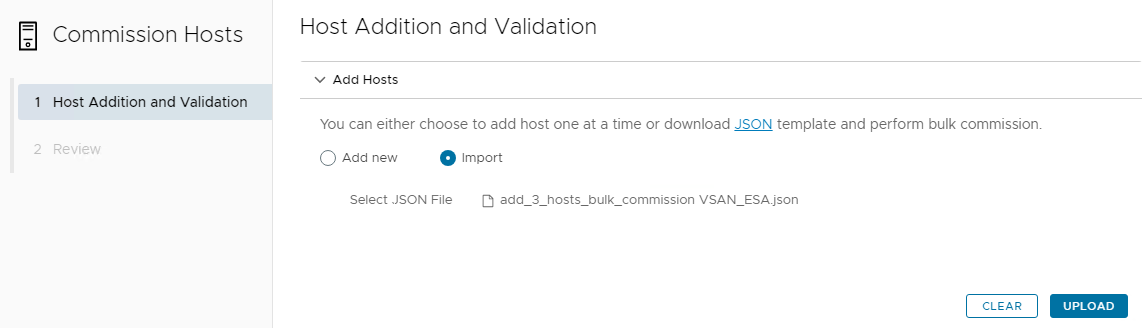
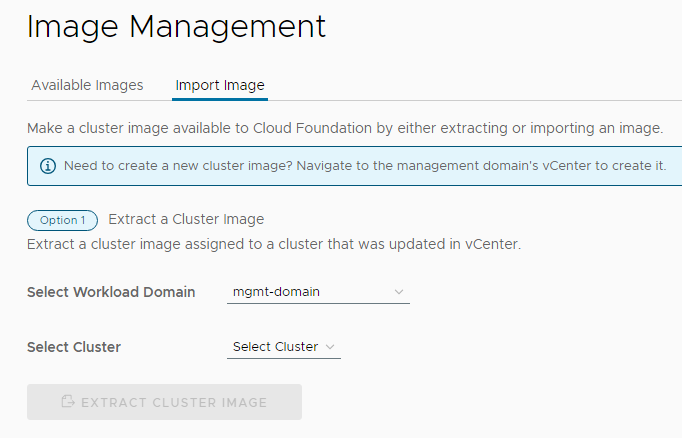
3: Import a vLCM Image to SDDC Manager
vLCM Clusters must be deployed with a defined vLCM Image. We will create one in MGMT Domain vCenter, and then import to SDDC Manager.
Create a vLCM Image using the correct ESXi Build that matches the VCF 5.1 BOM (8.0 U2 – 22380479)
Import the vLCM Image to SDDC Manager – with Option 1 it will pull it straight from the vCenter into SDDC.
Now we need to use an API call to retrieve the id of the vLCM image for the next step.
This was really confusing as the API Guide made no reference to this with sensible keywords – it’s called “personalities” in SDDC Manager.
From API Explorer: 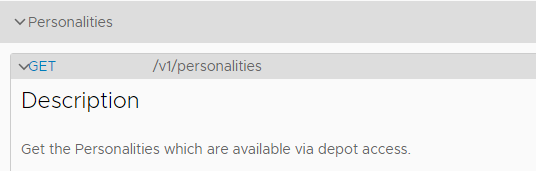
Save the personalityId from the response:
"elements": [
{
"version": "1",
"personalityId": "25faffc2-c6a5-487c-a62d-21a2e25d6206",
"personalityName": "vlcm_default_vcf51",
....
4: Workload Deployment
Now we’re at the business end. VLC includes a sample JSON for workload deployment under “automated_api_jsons\WLD_DOMAIN_API.json”
We need to make a few modifications.
Original (this is line 70 in my environment):
"datastoreSpec": {
   "vsanDatastoreSpec": {
      "failuresToTolerate": 1,
      "licenseKey": "",
      "datastoreName": "wld-vsan01"
      }
   },
"networkSpec": {
....
Now we need to add the ESA settings, remove failuresToTolerate and add the clusterImageId (personality) that we retrieved in step 3.
"datastoreSpec": {
   "vsanDatastoreSpec": {
   "datastoreName": "vsan-esa",
   "esaConfig": {
      "enabled": true
      },
   "dedupAndCompressionEnabled": false,
   "licenseKey": "xxx-xxx"
   }
},
"clusterImageId": "25faffc2-c6a5-487c-a62d-21a2e25d6206",
"networkSpec": {
....
Now go through the JSON to add in your license keys to the Host, vSAN and NSX sections, and also fill out the 3x Host IDs for the newly commissioned hosts which you can obtain with the API call GET /v1/hosts
Now your JSON should be ready for deployment – run it through the validation API, if successful you can use the deploy API.
In my lab the deployment was mostly smooth, but it hung when trying to claim the vSAN disks. This is because the lab/nested environment is not on the hardware compatibility list (HCL). This should not happen in production deployments.
To fix this, I logged into the vCenter and claimed the disks manually, accepting the warning that the disks were not certified. I could then resume the SDDC Manager task to continue the deployment. 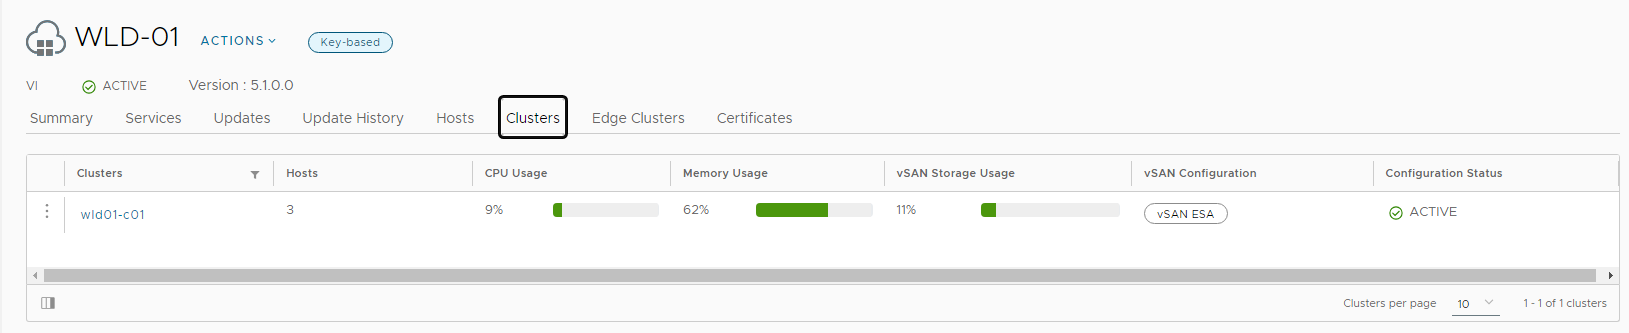
That’s it! Job done.