VCF 9 – Enable and Configure SSO Part 3 (Operations / Automation / Logs)
In Part 3 of the VCF 9 SSO series, we’ll be integrating VCF Operations, Logs and Automation with the Identity Broker.
First up – Operations.
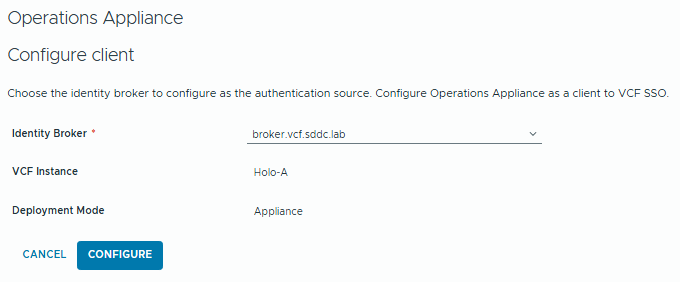
Log into Operations as the Local Administrator, browse to Fleet Management/Identity and Access. Click on Operations appliance.

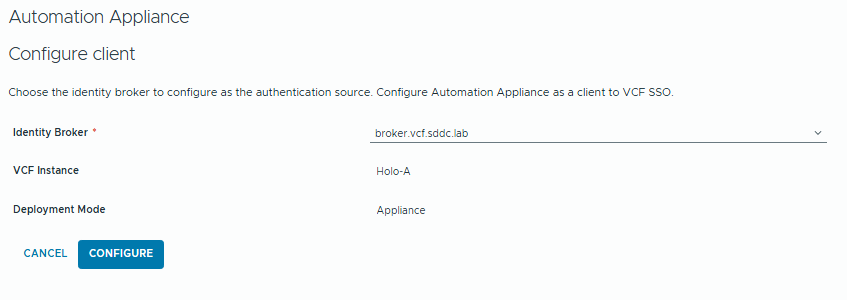
Click Continue and then we can select the Identity Broker cluster.
We’ll get the warning for the role mapping requirement:

Confirm and Continue.
Now we can set a role mapping from the SSO Source. Click Administration/Control Panel/Access Control/User Groups.
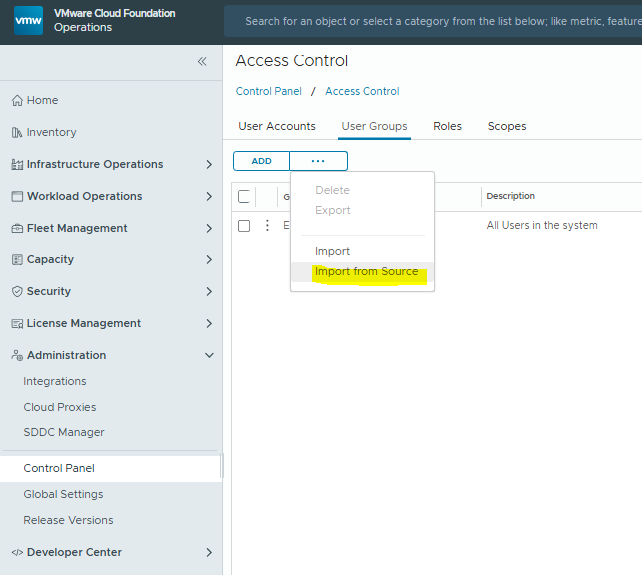
Click Import from Source
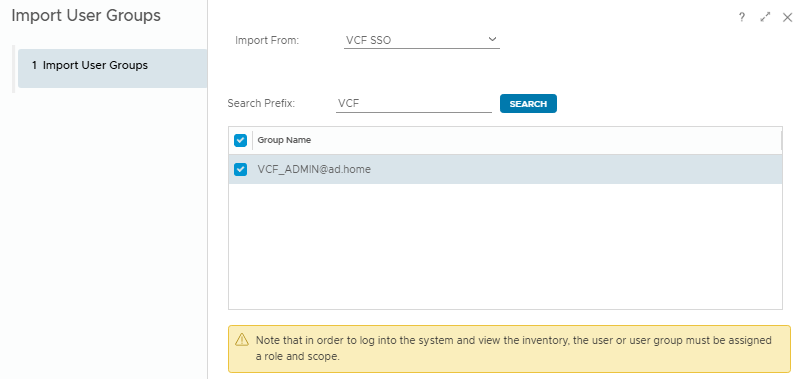
Add the group and click Finish.
Then Edit the group and assign the Administrator role for All Objects.
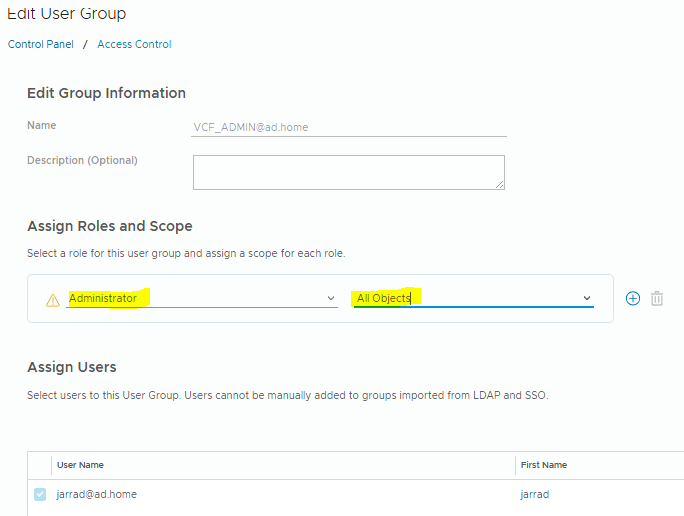
Click Save, and we’re finished with Operations.
Next up – Automation.
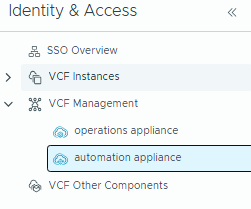
The first step is the same as Operations – go back to Fleet Management / Identity and Access, select automation appliance and “Configure”
We get the same warning again about Role Mappings.
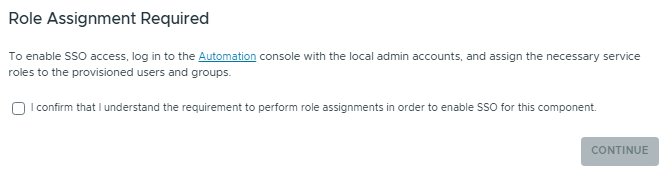
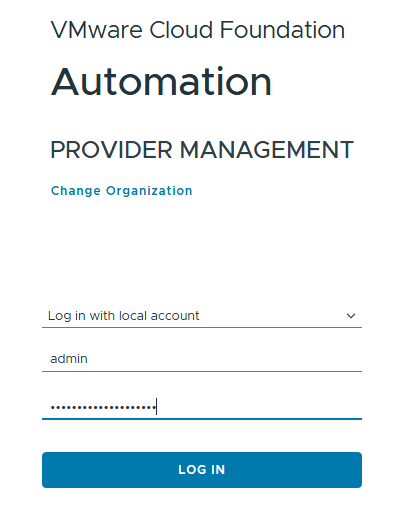
The link in the above warning will open the automation console for you, open it in a new tab and log in with the built-in admin account.
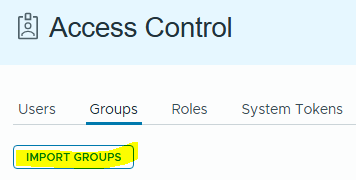
In the left panel, click Access Control, then groups. Import Groups.
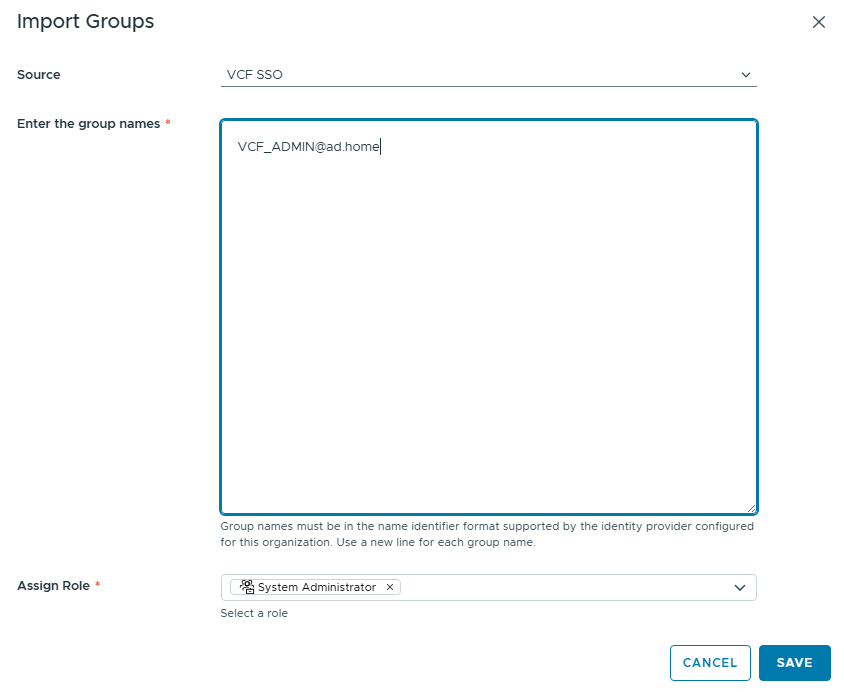
Add the AD Group name, and assign the role then click save. That’s Automation finished!
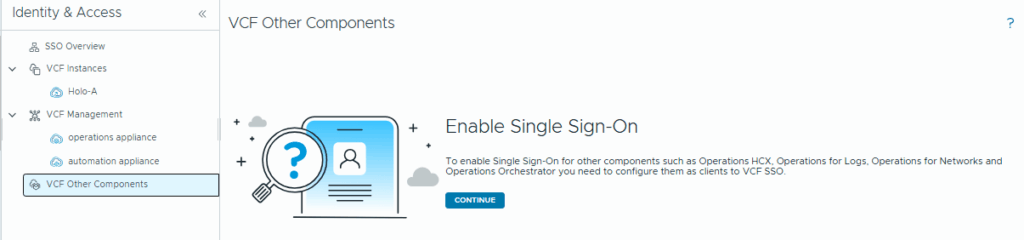
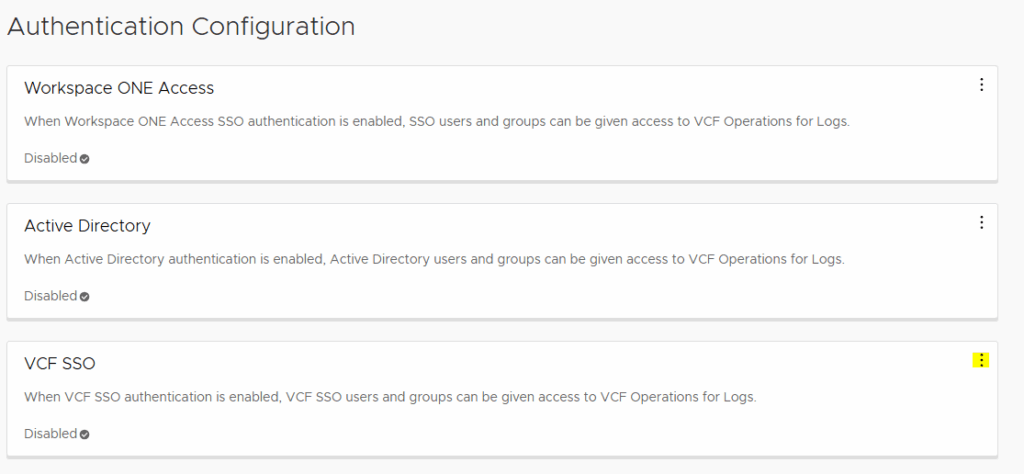
Lastly – we’ll configure Logs.
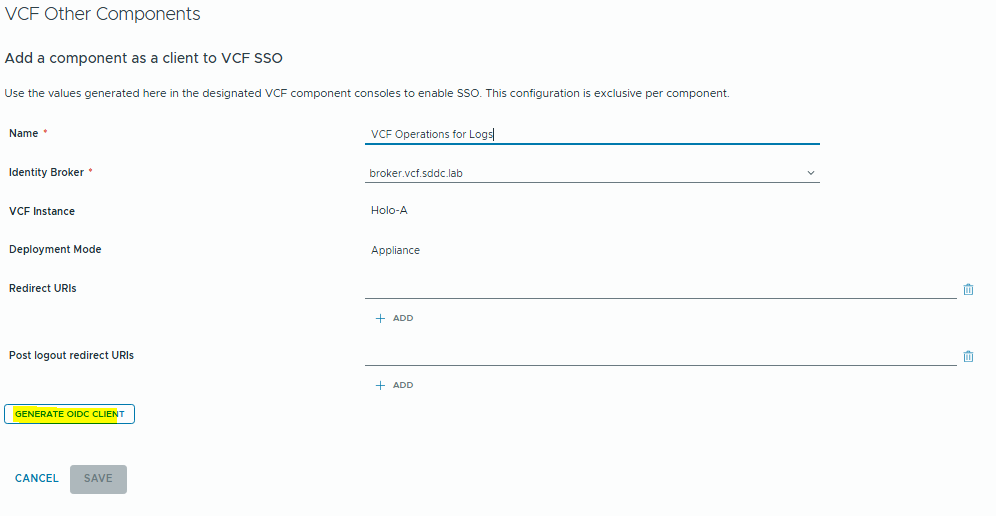
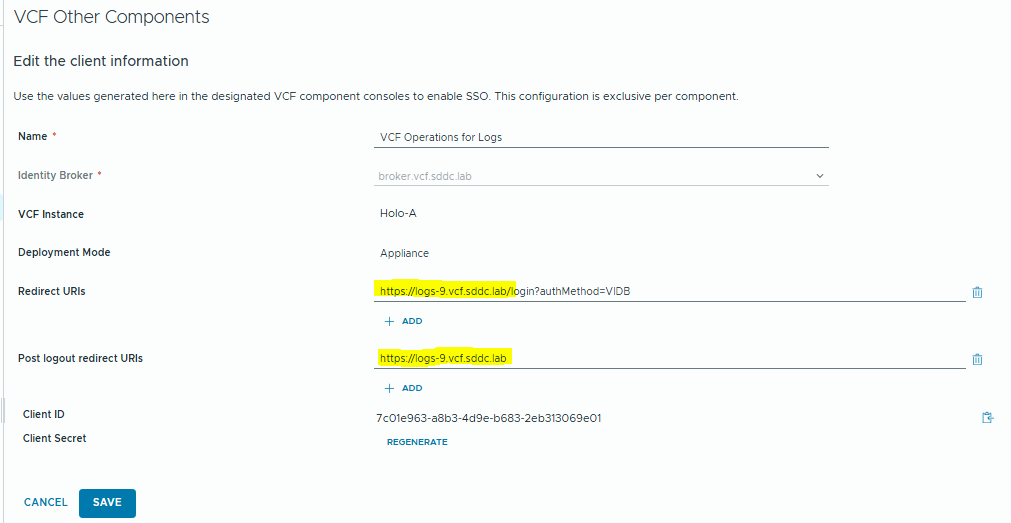
Go back to Fleet Management / Identity and Access. Select “VCF Other Components” and then click Continue.
We’ll be prompted with the following. Add the name for the client, and click “Generate OIDC Client”.

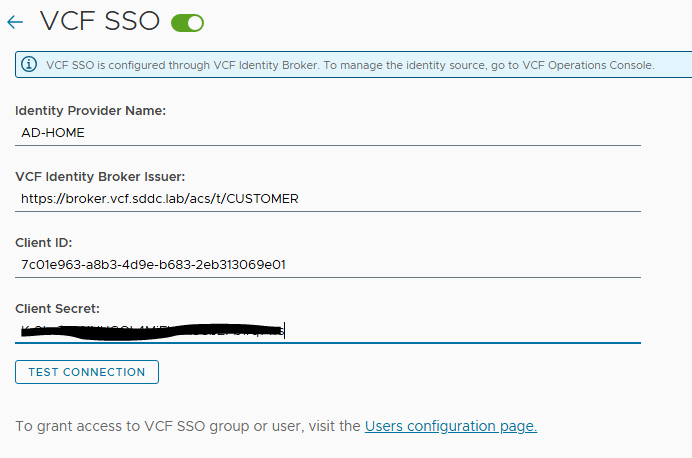
Now log into Logs as the local admin, browse to Configuration then Authentication. Click Edit on the VCF SSO section.
Copy and Paste the values from the OIDC Client and click Test Connection.
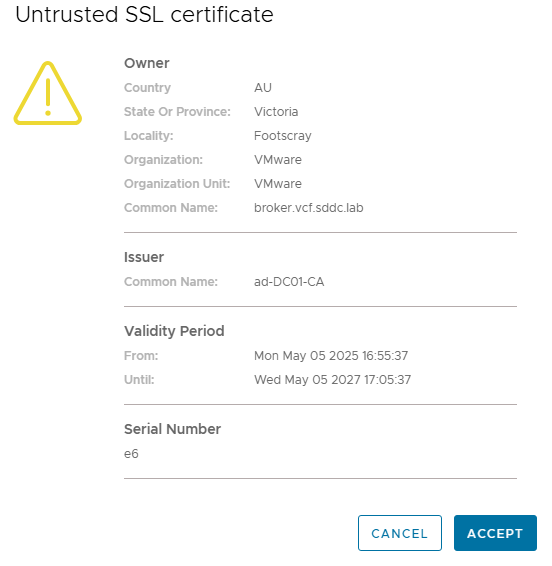
Accept the SSL Cert.
And now we should see a “Success” notification.

Click Save and we will see that VCF SSO is enabled.

Remember to go back to Operations and click Save on the new client.

I also had to edit the client to fix the URIs. By default these were configured with the IP address, but I updated to the FQDNs.
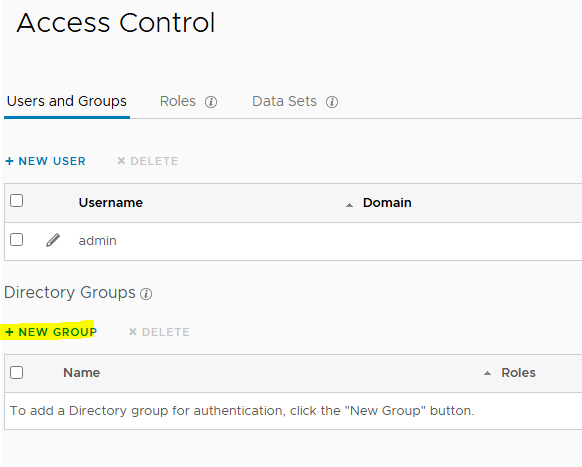
Now we can add a role mapping. Browse to Management / Access Control.
Click New Group and fill the details.
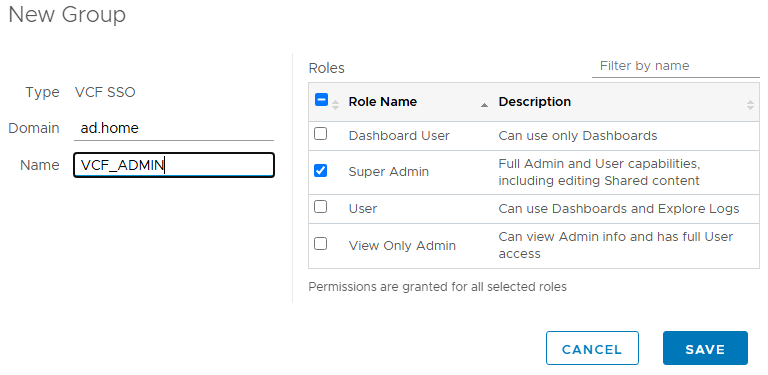
Click Save.

And that’s it, we’re done! Active Directory SSO has now been configured for Operations, Automation and Logs.