VCF 9 – Enable and Configure SSO Part 1 (Active Directory)
In a previous post we went through the steps to deploy the External Identity Broker cluster.
Today we’re going to be going through the steps of configuring SSO across the VCF components and integrating with Active Directory.
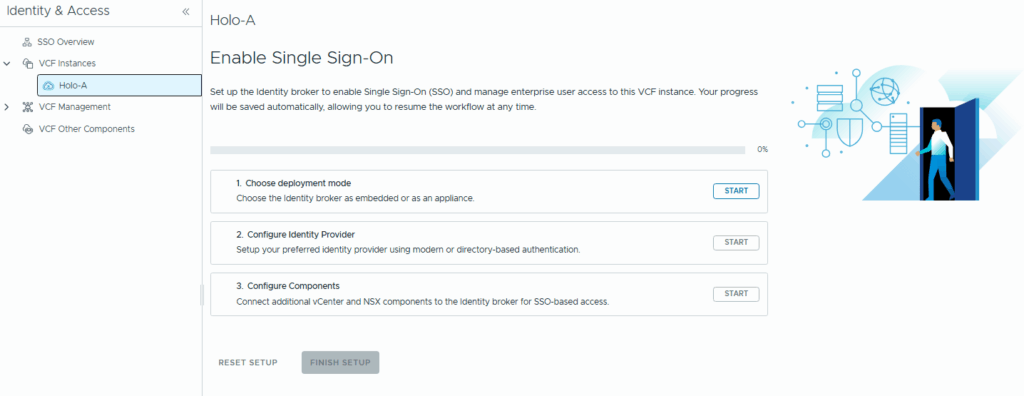
First, log into VCF Operations and browse to Fleet Management / Identity and Access, then select your VCF Instance.

Step 1: Choose Deployment Mode – Click “Start” and we’ll select Identity Broker Appliance. If you haven’t already deployed this, you’ll be prompted to.


Step 2: Configure Identity Provider, click “Start”
We’ll be using AD, but VCF 9 now supports modern identity providers such as Ping/Okta/Entra.

Configure with your AD Details. My domain is called “ad.home” and I’m binding with the built-in AD Administrator account.

Review and click “Finish”

Step 3: Configure User and Group Provisioning – Click “Configure”


Review the attribute mappings

I’m going to select my VCF_ADMIN group thats in the “VCF Users” OU

I’m not going to provision any users, as it’s best practice to control access via groups instead.

Review and Finish


Once complete, click Done.
We’ll pick up in Part 2 for the NSX & vCenter role mappings.