VCF 5.2.x to 9 Upgrade – Part 1 (Management Domain)
With VCF 9 there has been a lot of changes regarding the environment management. In 5.2.x and earlier we perform most Infrastructure changes from the SDDC Manager but this is being replaced with the VCF Operations Console.
To upgrade from 5.2.x to 9.0, we must first upgrade the Management Domain to 9.0 via the SDDC Manager, then import the VCF Instance into VCF Operations. Note – your upgrade scenario may be a little different, depending on what you have deployed. Please consult the latest documentation. My lab environment is a Holodeck Site A2 deployment in Image Mode, without Aria Suite deployed – if you are using VUM Baseline Mode or already have Aria Operations then your procedure will be different.
This post will concentrate on the Management Domain Upgrade, then in Part 2 we’ll cover the VCF Operations Deploy and Import.
Another note – Aria Suite has been renamed to VCF Suite now – (e.g. VCF Operations, VCF Operations for Logs, VCF Operations for Networks etc.)
The process to upgrade the Management Domain hasn’t really changed. We first download the SDDC Manager upgrade bundle and upgrade the SDDC Manager. Once that has been upgraded we can download the rest of the bundles for the upgrade (NSX/vCenter/ESX).
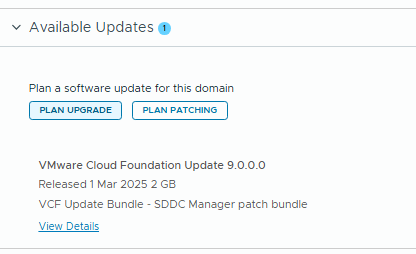
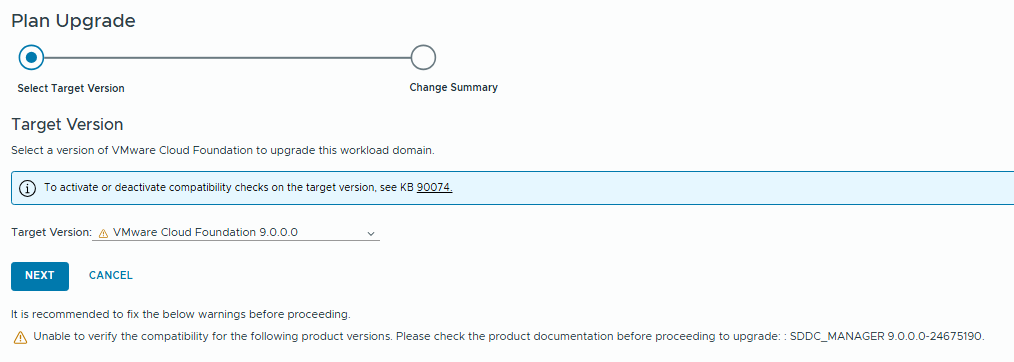
First, take a snapshot of your SDDC Manager, then browse to Workload Domains / Management Domain / Updates and click on “Plan Upgrade”
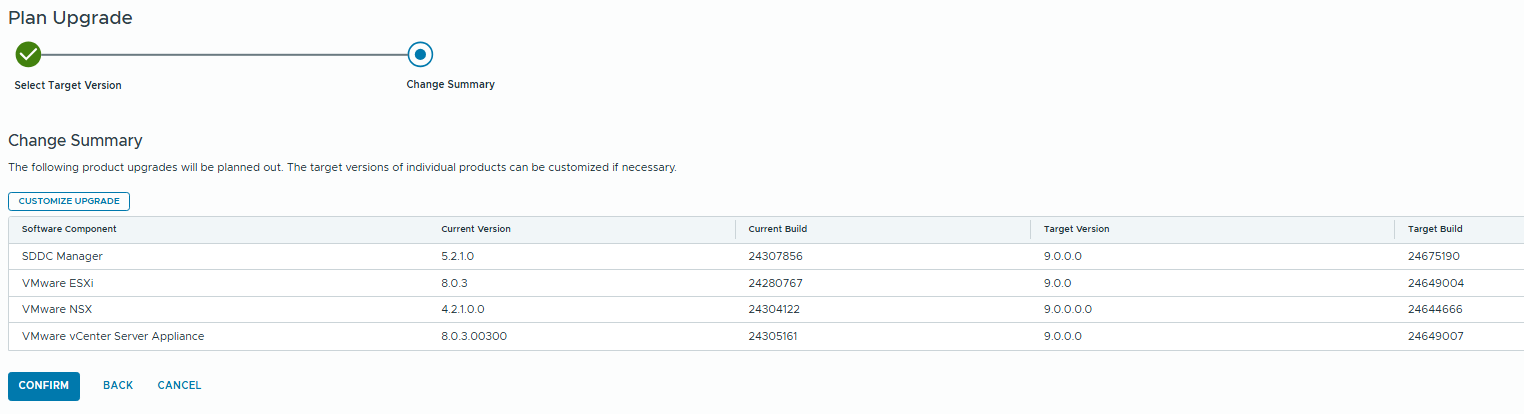
Click confirm and the upgrade plan will be saved.
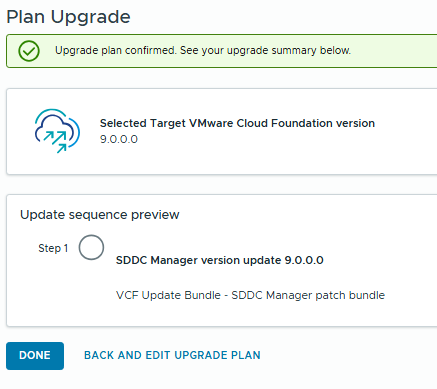
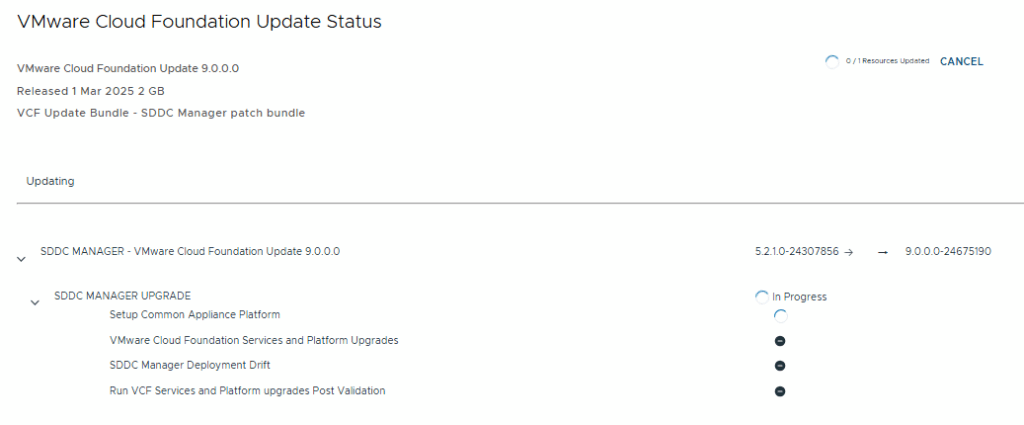
You can now do the prechecks and when ready, click Upgrade Now to trigger the SDDC Manager upgrade.

When SDDC Manager completes, we can configure our Depot connection and download the upgrade bundles for VCF 9.
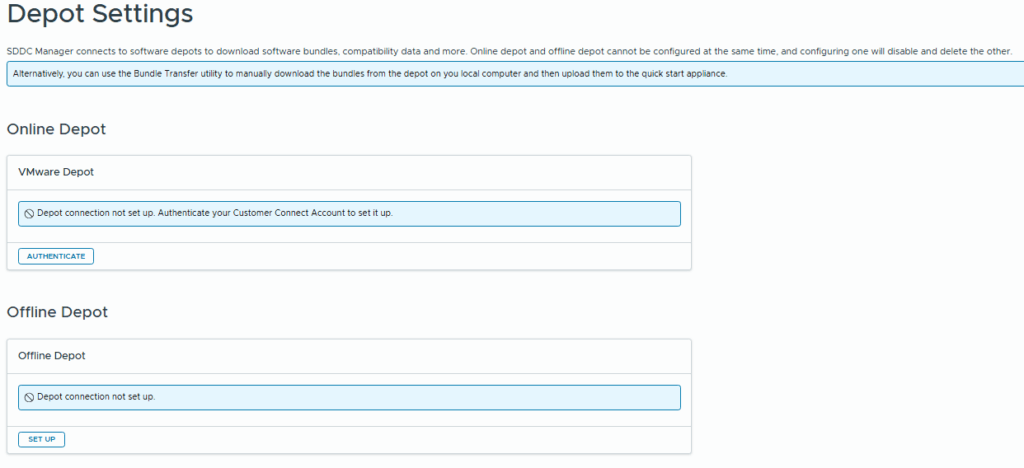
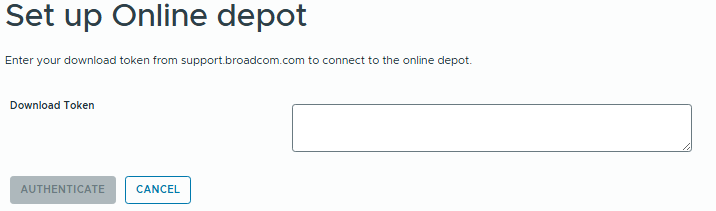
If you are using an online depot – this has now changed so you only need to supply your download token.
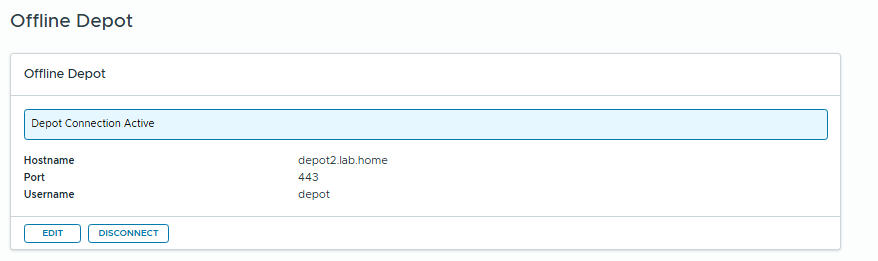
I’ll be using a pre-configured offline depot that already has the bundles available.
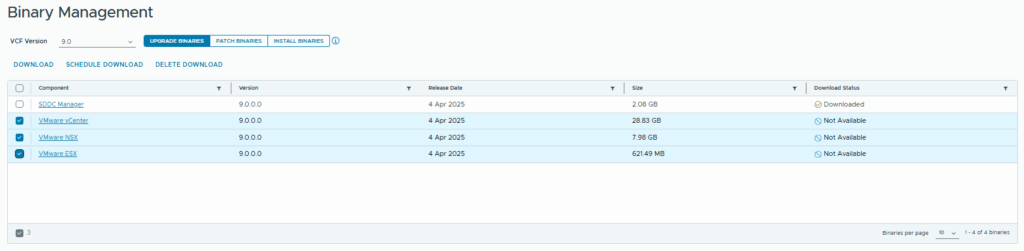
Browse to Lifecycle Management / Binary Management and download the upgrade bundles for NSX / vCenter / ESX.
Once the bundles are downloaded we can go back to the Workload Domains / Management Domain / Updates
Next up is the NSX Component.

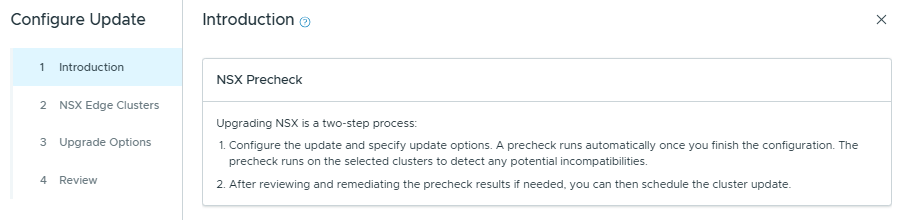
Click Configure Update

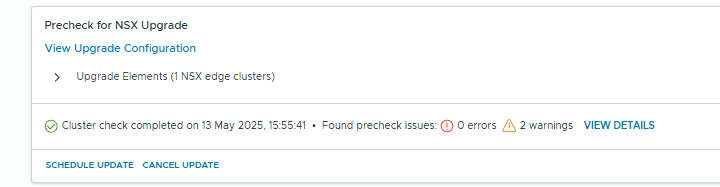
Then click “Run Precheck”
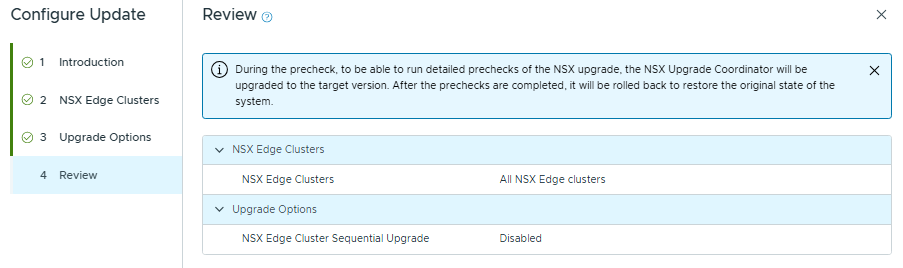
When the pre-check completes, review the report and click “Schedule Update”
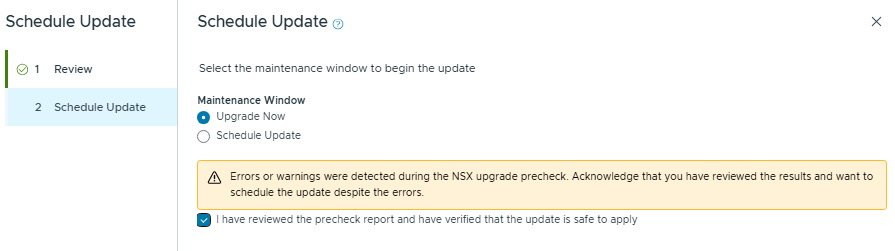
Click Finish and this will kick off the NSX Upgrade.
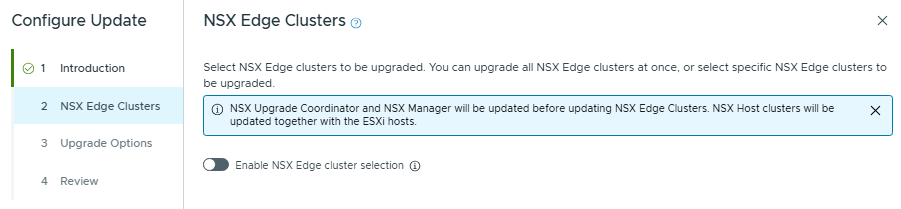
It looks like the NSX Upgrade order has changed – It now does the manager first instead of last.

The NSX Host bits are now also handled in the ESX upgrade phase, so this will mean a big reduction on the time required to complete the upgrade.
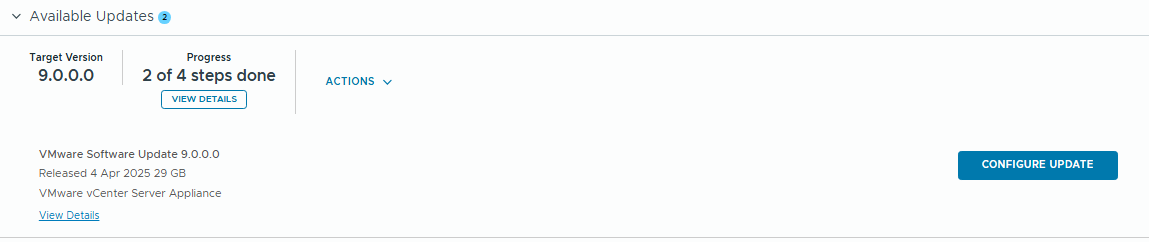
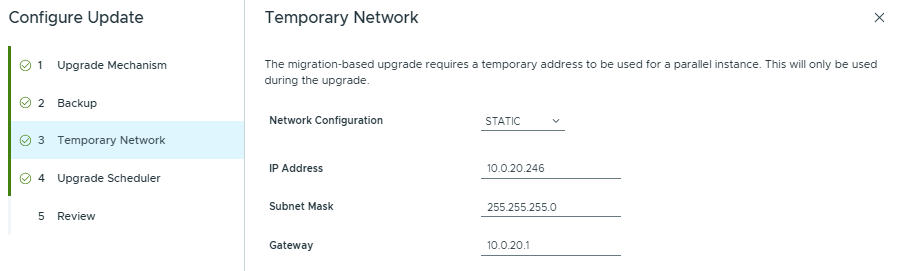
Now we start the vCenter update config. Ensure you have taken a file based backup of the vCenter config.
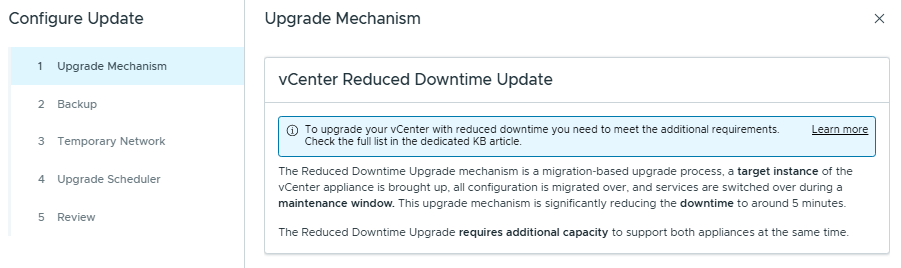

Provide a temporary IP for the vCenter appliance in the same subnet as the existing vCenter.
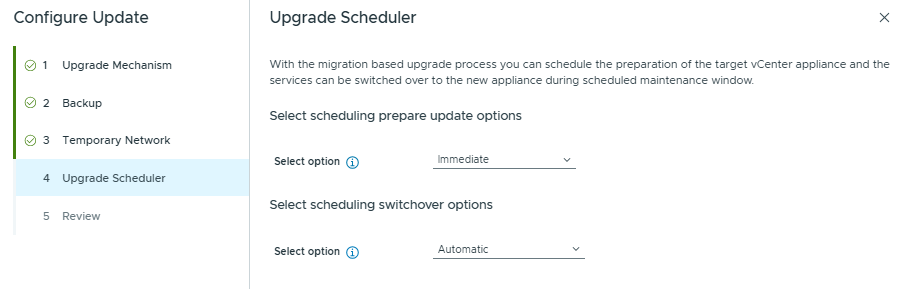
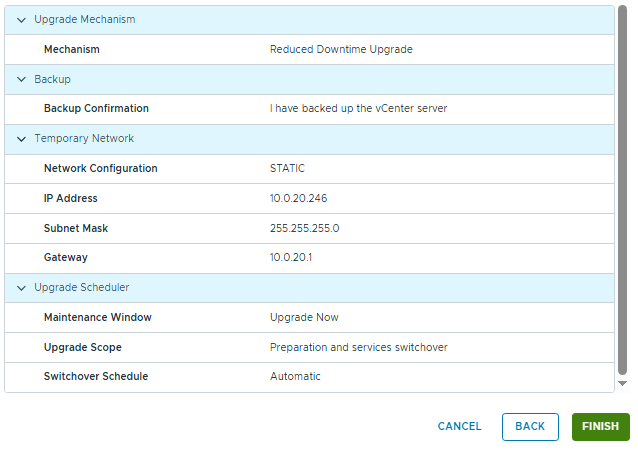
Click Finish and this will begin the vCenter upgrade.
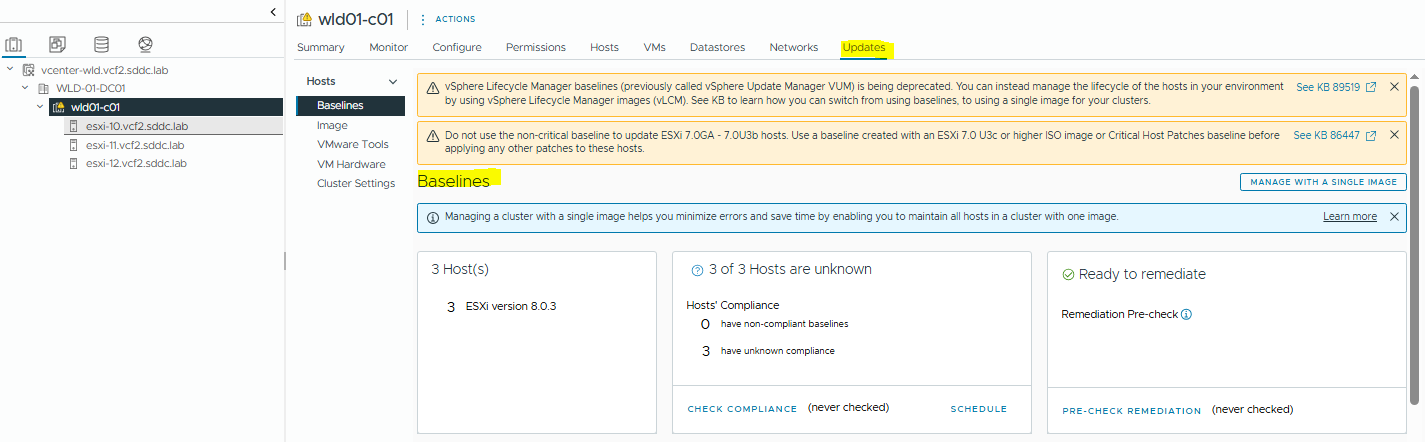
Before proceeding to the ESX upgrade, if you are running VUM Baseline Mode for your clusters you’ll need to perform the Image Mode transition steps first. Baseline mode will be deprecated, and I will cover this process in another blog post. My lab is using Image mode so I can just immediately proceed.
You can determine which mode you are running in the vCenter. Click on the cluster and select Updates.
Image Mode:

Baseline Mode:
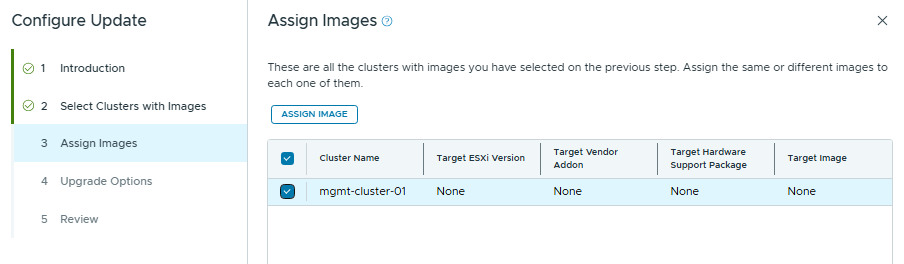
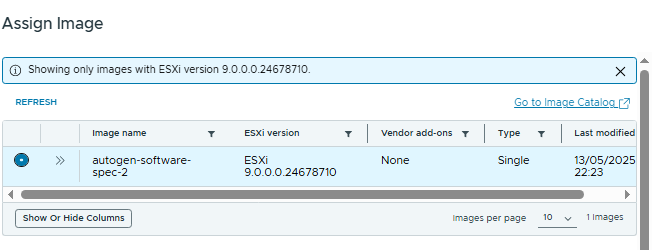
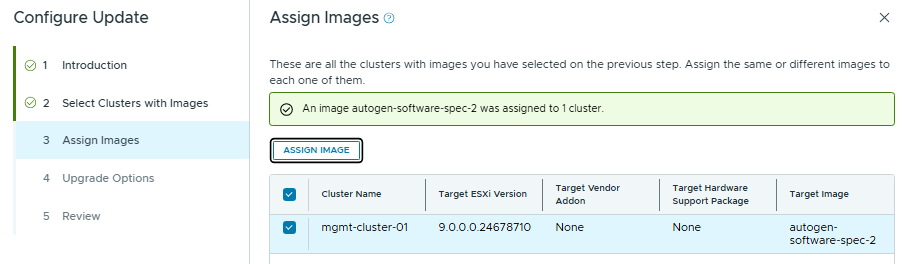
Now we need to create an image for the upgrade. In vCenter we can create a dummy cluster, configure it with the correct ESX build, then import it to SDDC Manager. If your hardware requires a vendor add-in like HPE or Dell, you can also include that in the cluster image.
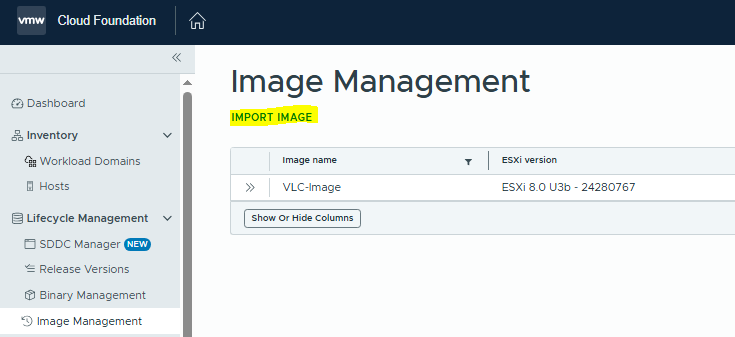
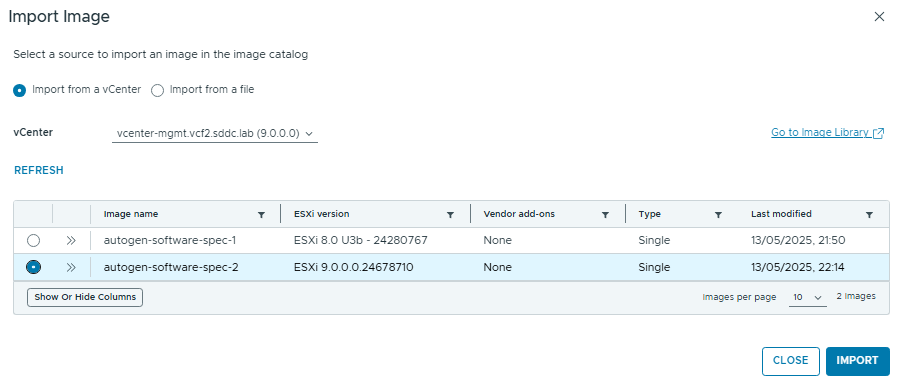
After the import completes, go back to the Management Domain / Updates / click “Configure Update”
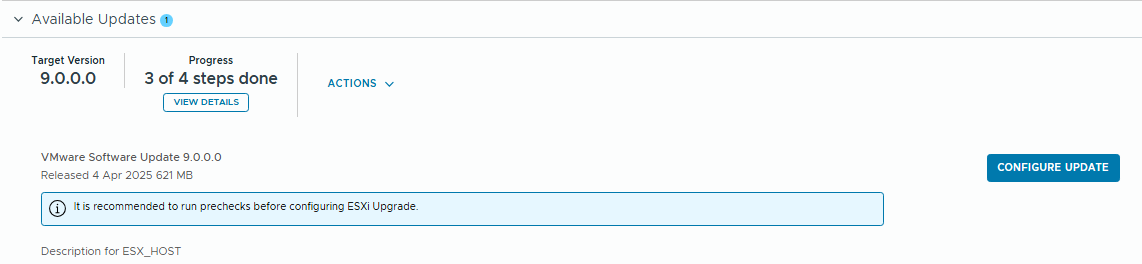
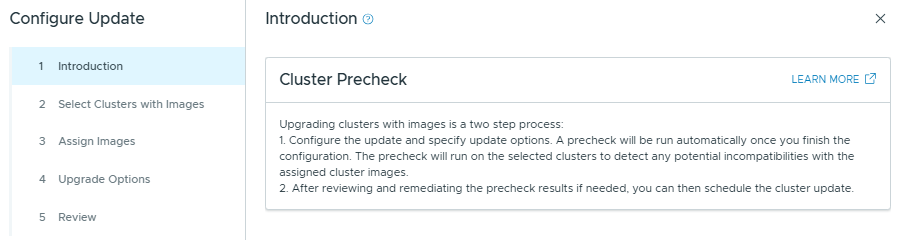
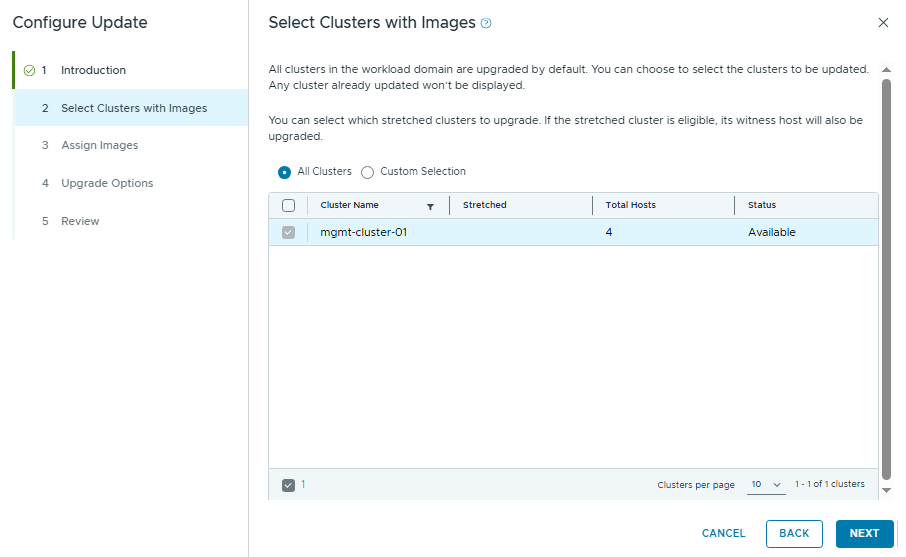
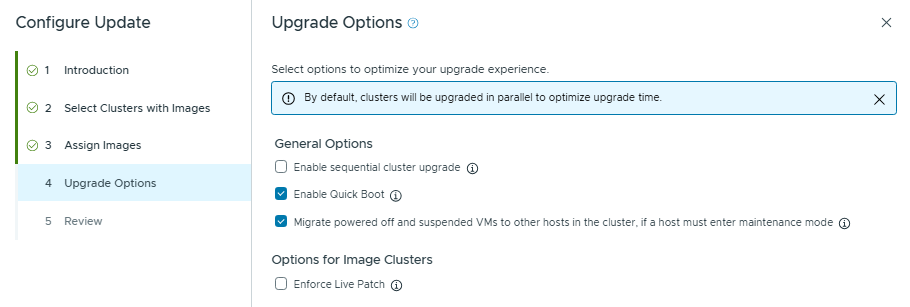
Then click next and “Run Precheck”
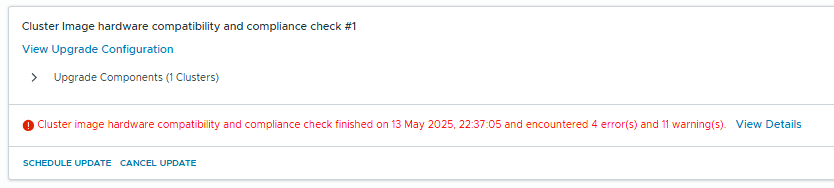
After the precheck completes, review and resolve the warnings and errors if applicable. My lab is showing hardware compatibility errors because it’s a nested environment.
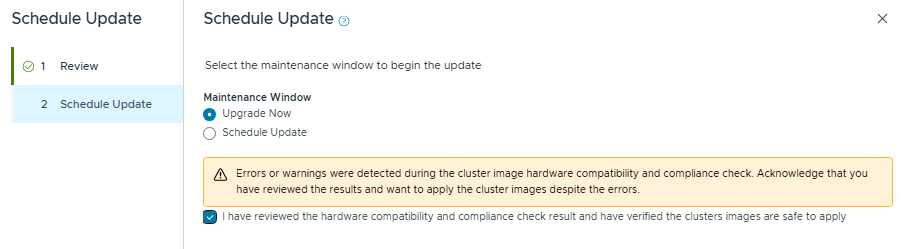
Click Schedule Update
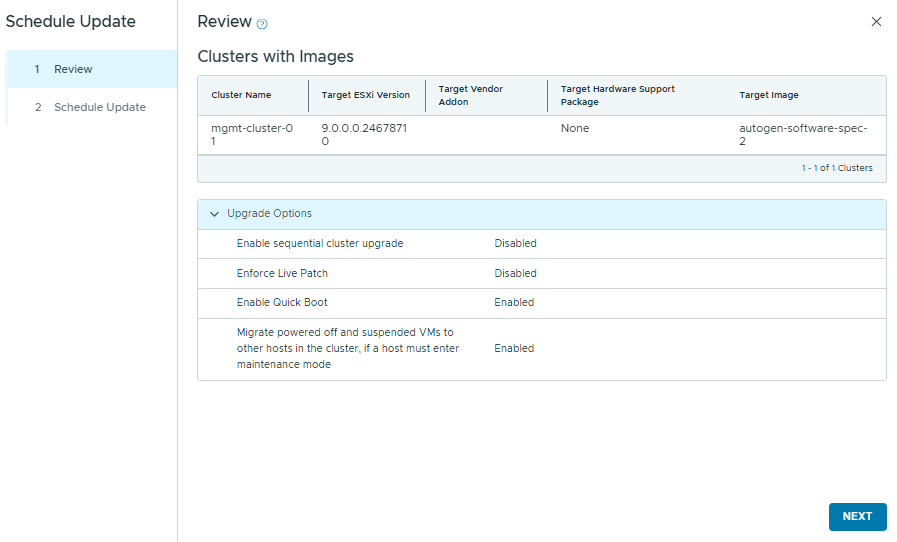
Click Finish
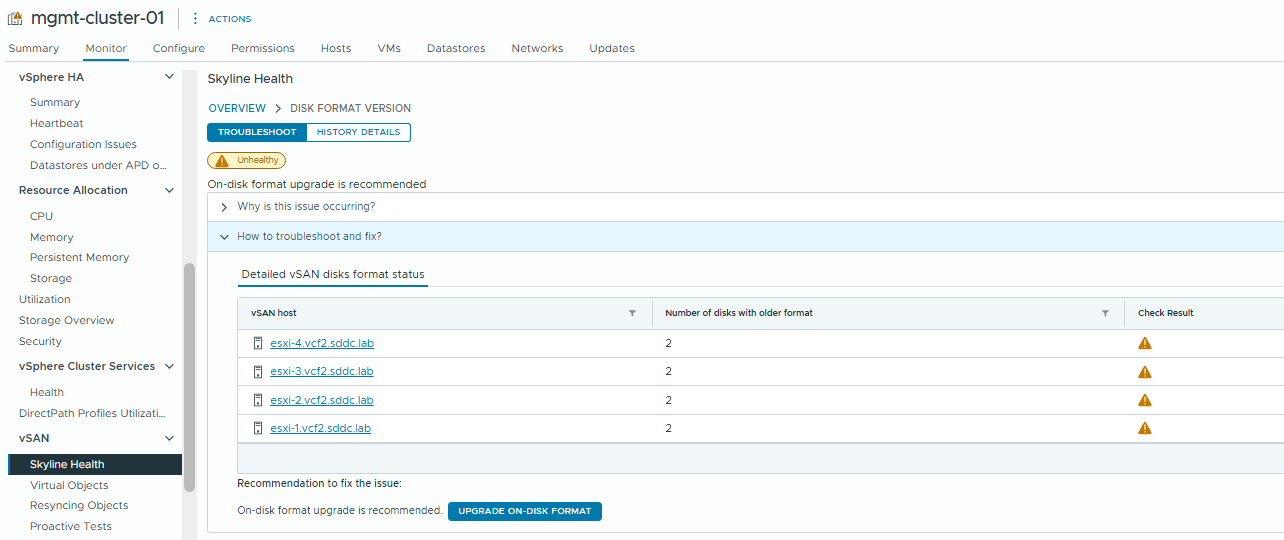
Once the upgrade completes, we can upgrade the vSAN On Disk Format
So that completes the first phase of the upgrade – not too much different yet, but once we import the environment into VCF Operations, we’ll see all the new interfaces. That’s all coming up in Part 2.