VCF 9.0.2 Upgrade/Patching Process
VCF 9.0.2 has just been released, in this blog post, we’ll show how to upgrade your 9.x environment to 9.0.2
First step is always to read the release notes, this will detail new features, bug fixes and any caveats with the update.
Now make sure you have your depot configured, and we can start the process.
The management layer will be upgraded first. We’ll begin with the “Fleet Management” appliance. This can be equated to the Aria Lifecycle component in VCF 5.x, we need to upgrade this first so it knows about all the 9.0.2 binary packages and upgrade paths for the management components like Operations, Logs, Networks and Automation.
Browse to Lifecycle / VCF Management / Binary Management.
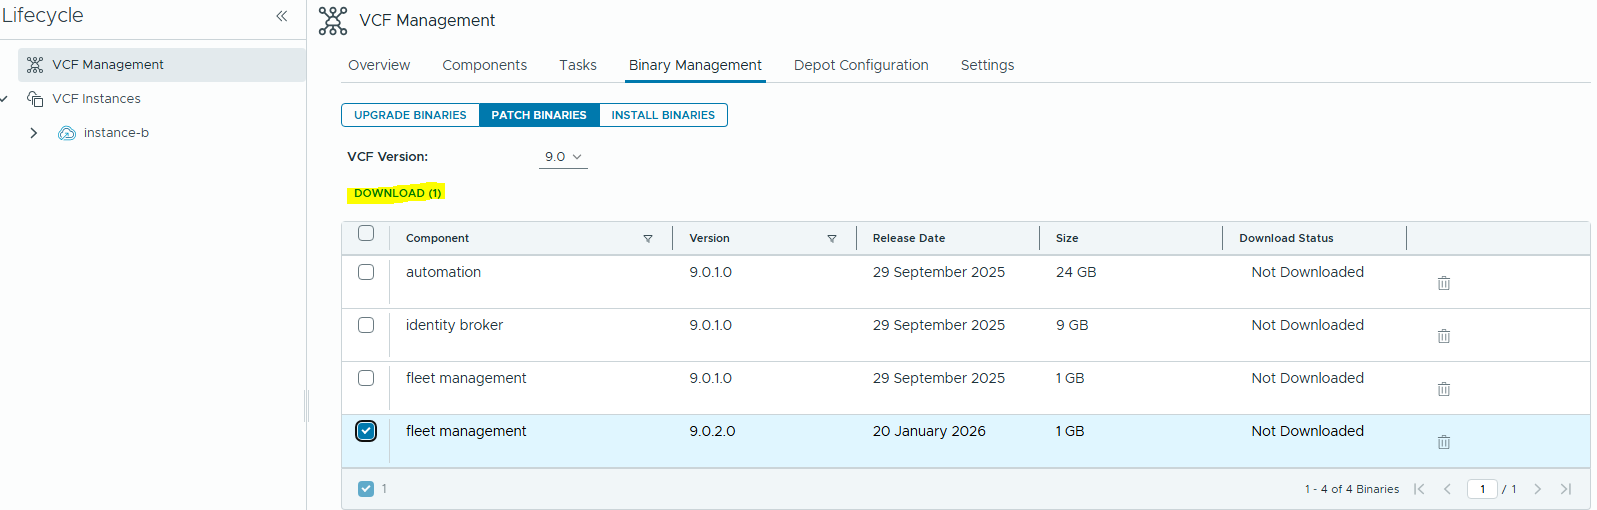
Select Fleet Management 9.0.2.0 and Download it. Once complete we can apply the patch to the fleet management VM.
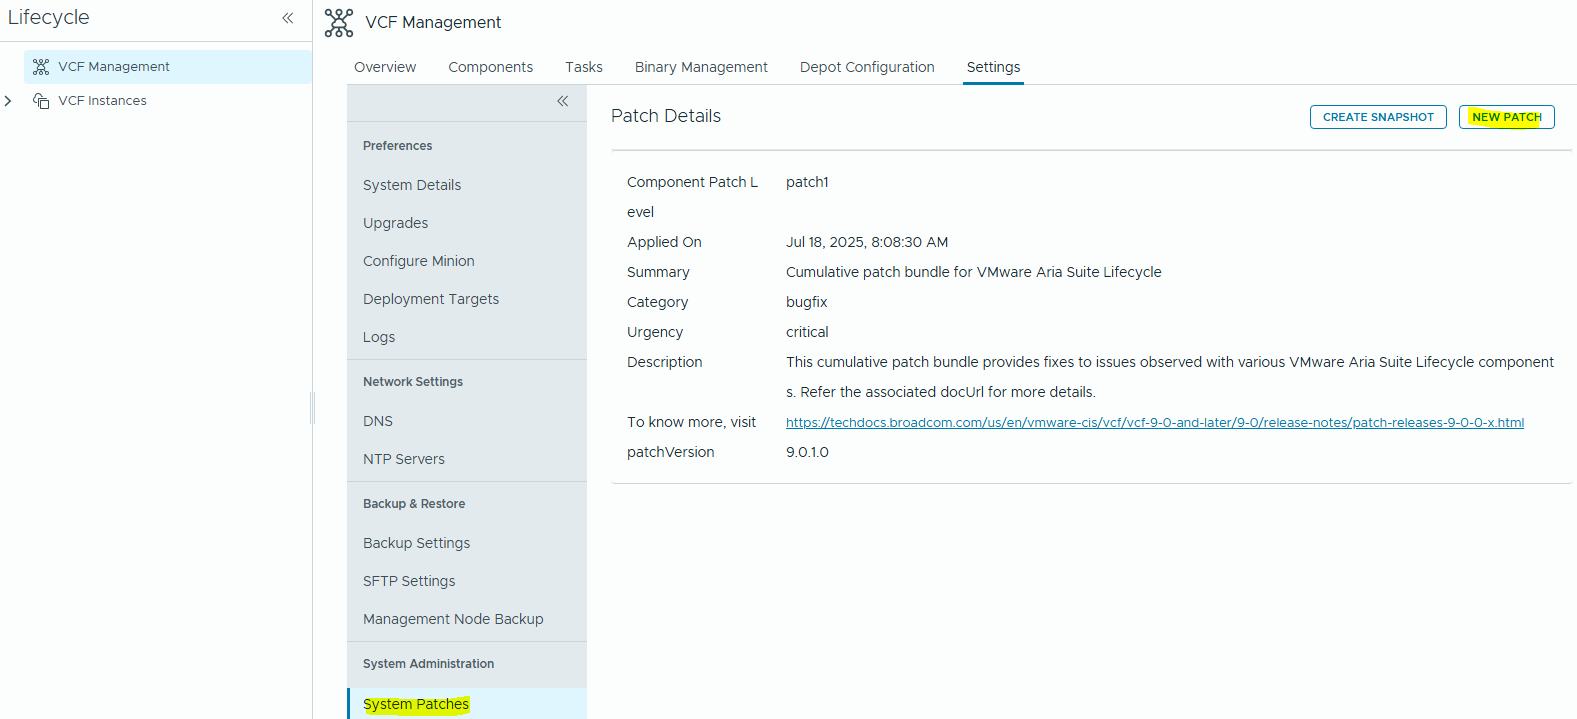
Take a snapshot of your fleet management VM, then browse to Settings / System Patches and click on “New Patch”
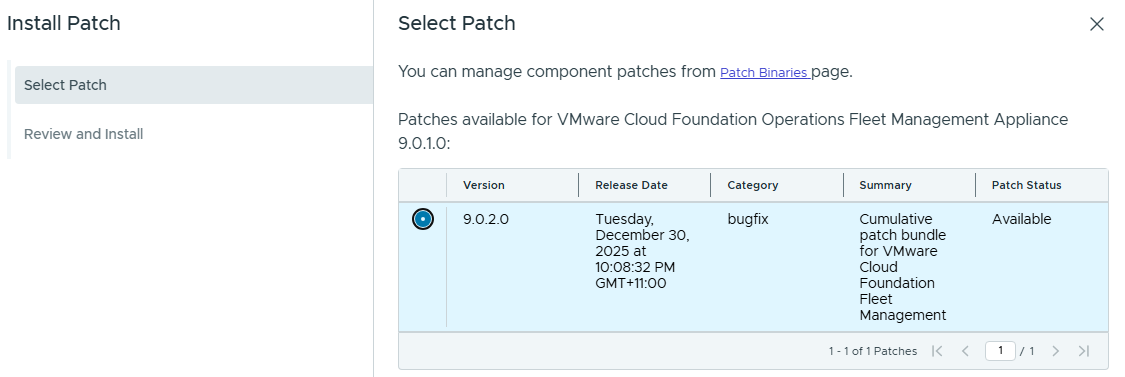
Click through and we’ll see the bouncing ball screen, which will look very familiar for those used to Aria Lifecycle.
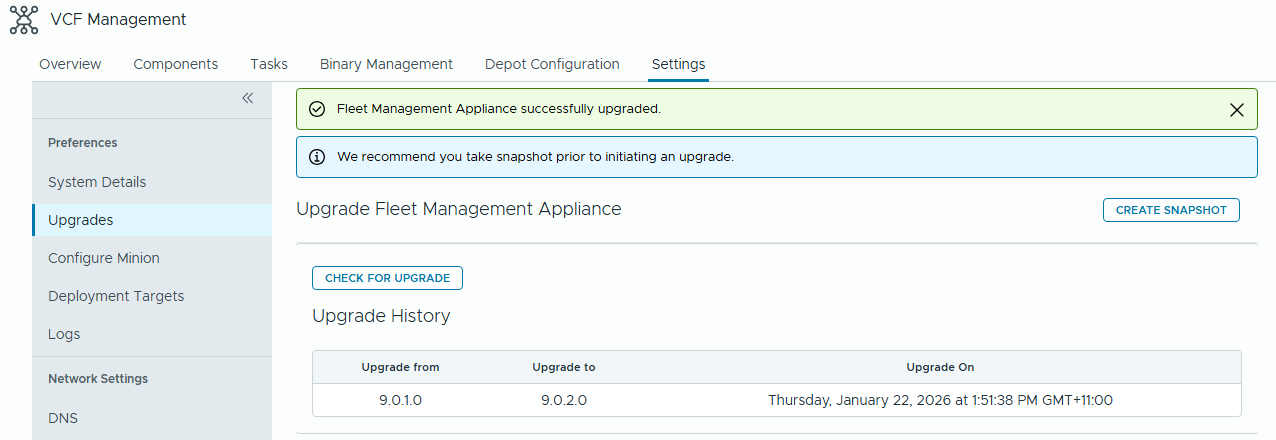
We can verify completion in Settings / Upgrade
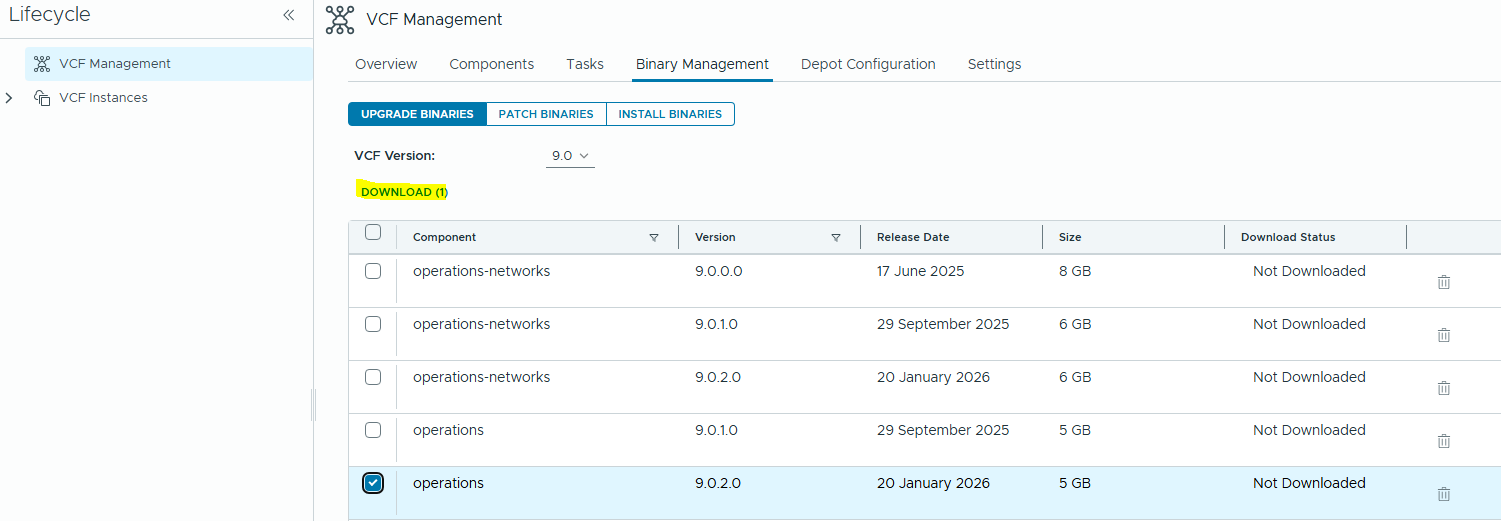
Now we’ll see the binary packages available for the rest of the management layer. My lab environment is minimal so I only have Operations deployed.
Download the 9.0.2.0 upgrade packages for the components you have deployed
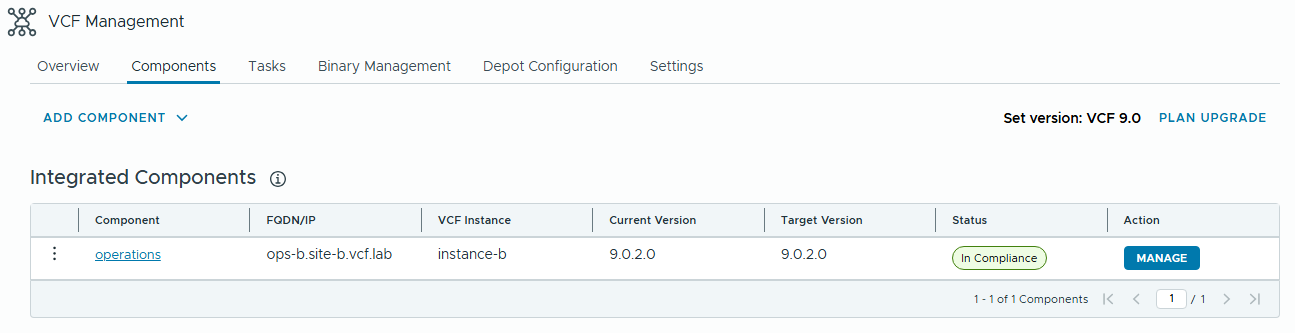
Now we can configure the upgrade plan for the management layer – browse to the Components tab and click on “Plan Upgrade”

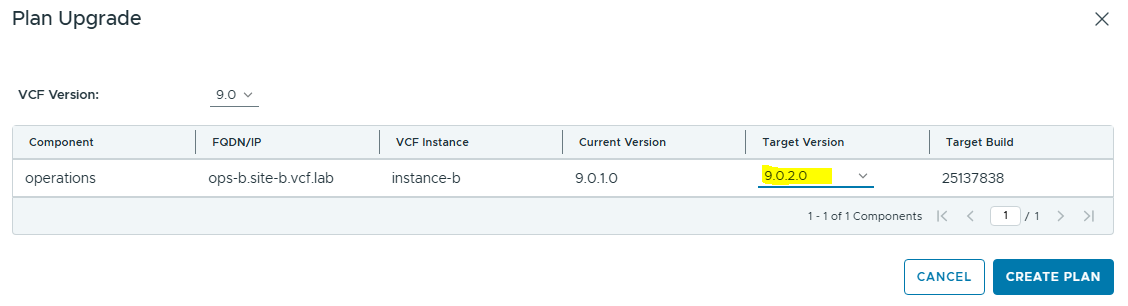
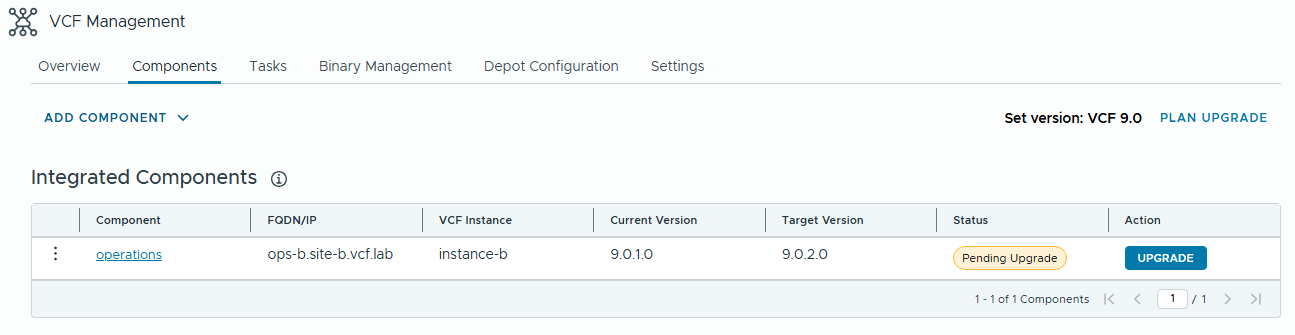
Now click Create Plan, and we will then see an upgrade button next to the Operations component.
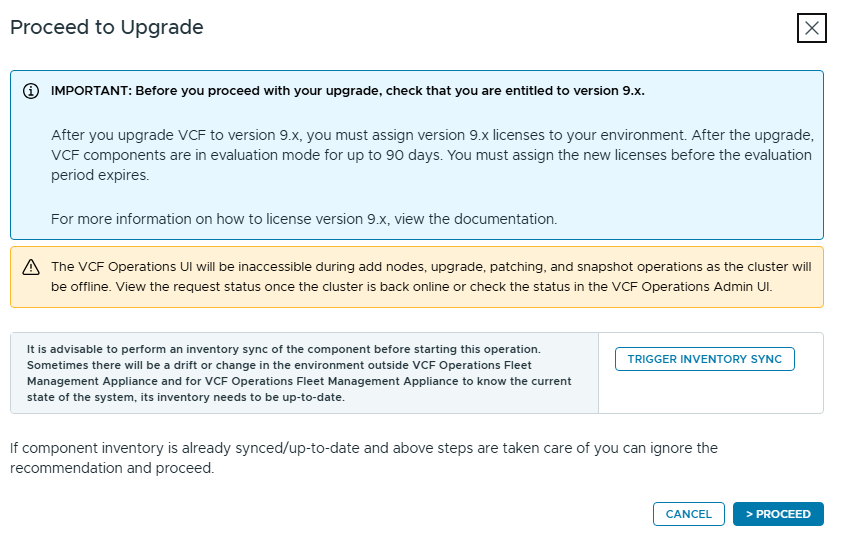
Again, we’ll see more screens reminiscent of Aria Lifecycle – this process will be the same as previous Aria Operations upgrades. We need to run the APUAT tool to validate if any custom content will be affected by the upgrade. Run the APUAT and review the report.
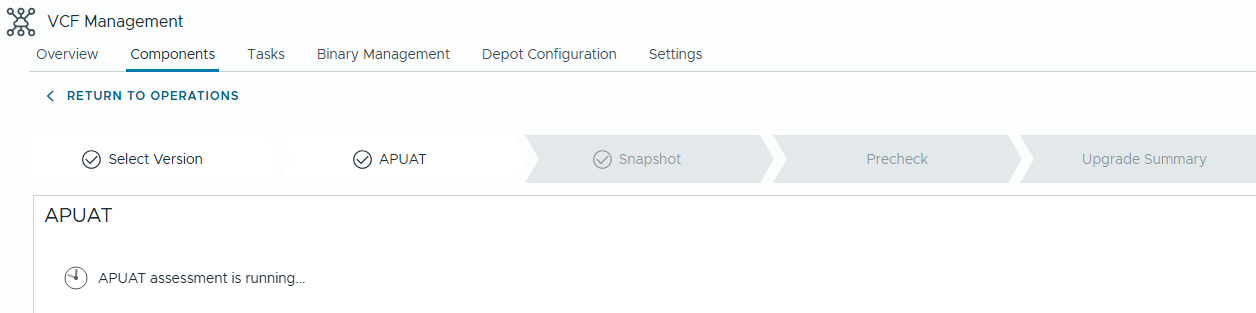
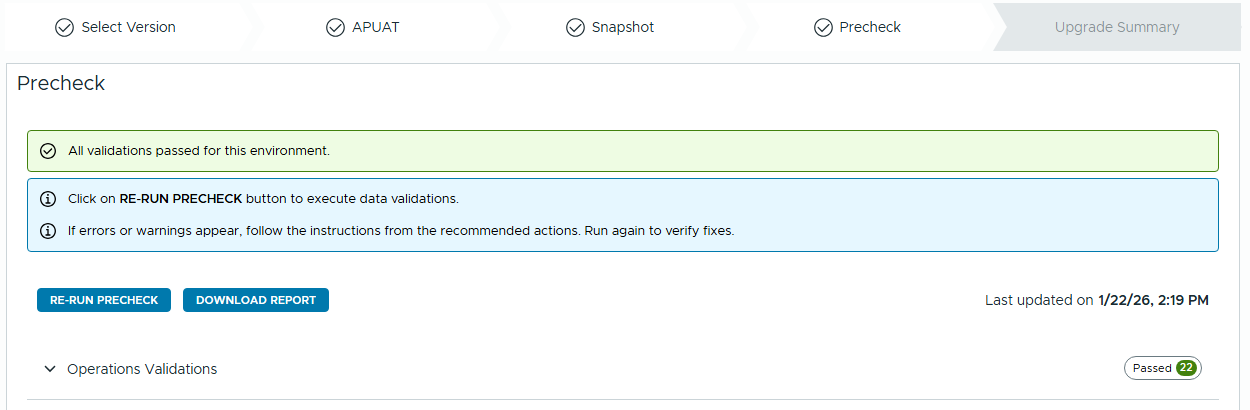
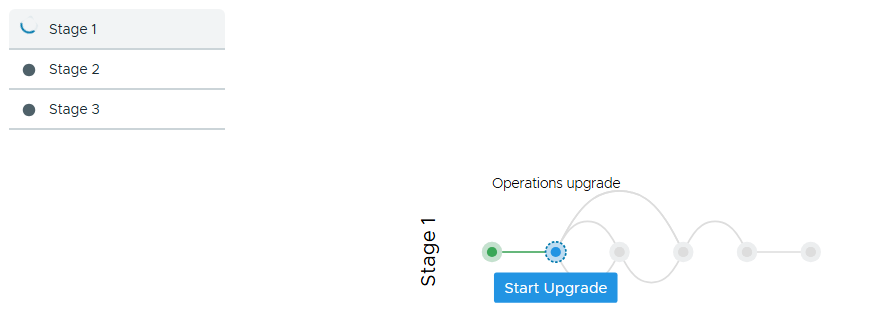
We can click through the screens, select if you want to take snapshots, and if you want to retain them, run the prechecks, review the summary then we can proceed with the upgrade.
You can repeat the process for other management components you may have deployed in your environment like Automation or Logs.
When the management layer is done, we can move to the vSphere/NSX Components in the Management Domain.
Now to kick off the vSphere section of the upgrade, we’ll browse to the Management instance, and upgrade the SDDC Manager.
Browse to Fleet Management / Lifecycle and select the instance you’ll be upgrading.
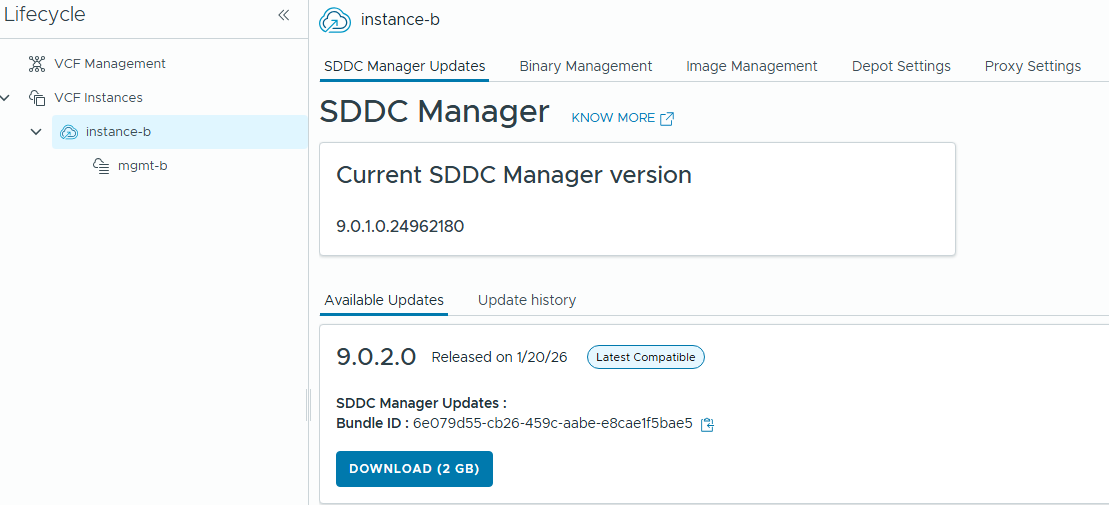
Download the SDDC Manager image, then take a snapshot of the VM, run the precheck and if it’s all green then you can start the upgrade.
When the SDDC Manager upgrade completes, we can then browse to “Binary Management” and download all the “Upgrade” bundles for 9.0.2.0
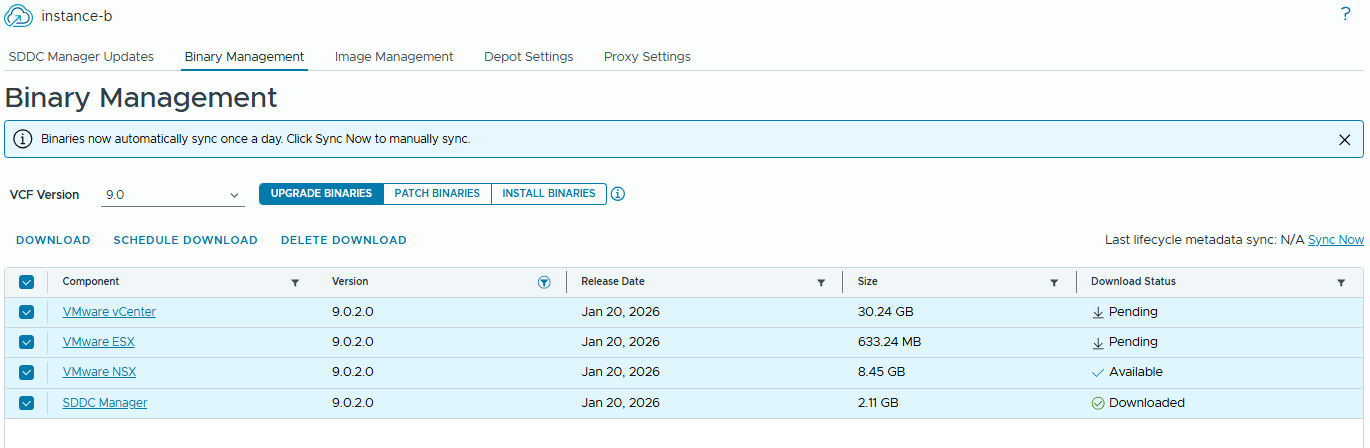
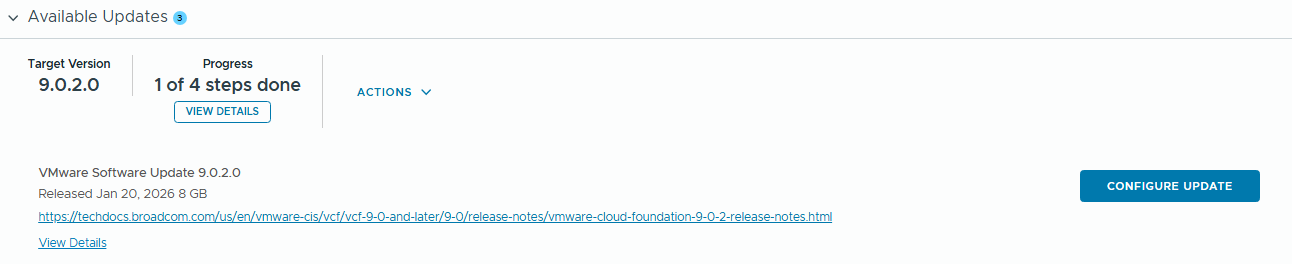
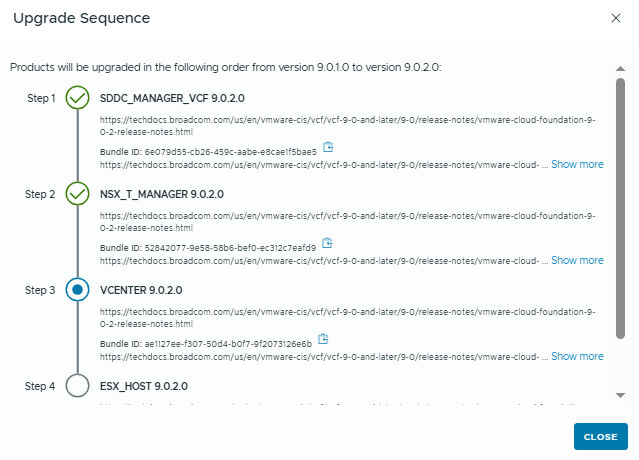
Now this part is pretty similar to VCF 4.x/5.x – we’ll configure and schedule the upgrade of each component – NSX -> vCenter -> ESXi in that order.

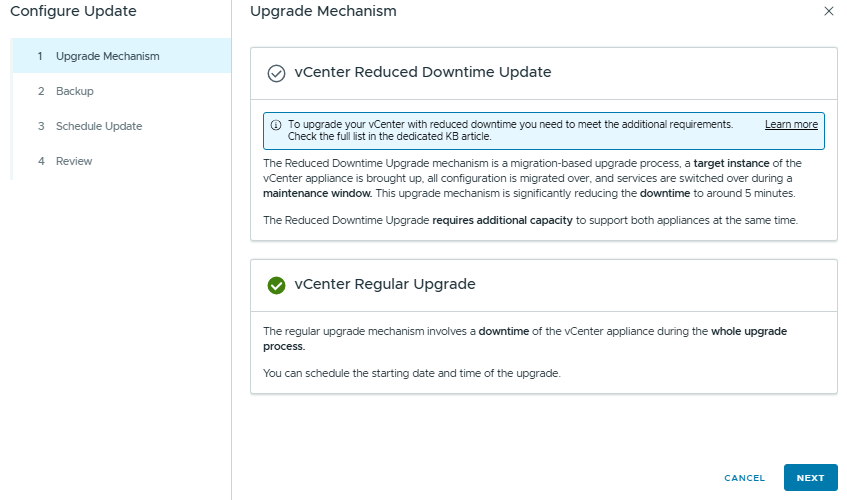
Once NSX has completed, we’ll hit the vCenter Upgrade.
We have 2 options here – the reduced downtime upgrade will deploy a new appliance and migrate your stats/config across, you’ll need to provide a temporary IP address if you use this method.
Otherwise we can choose the regular upgrade – since this is a lab, I don’t care so much about downtime but choose the option that best suits your environment.
The last upgrade component will be ESX, similar to VCF5, we need to create an ESX Image, then import to the SDDC Manager and then assign the image to the clusters we are patching.
This process has been improved, we previously had to create a dummy cluster to compose the ESX image, but now we can do this in vCenter.
Browse to Lifecycle Manager, then Image Library / Create Image.
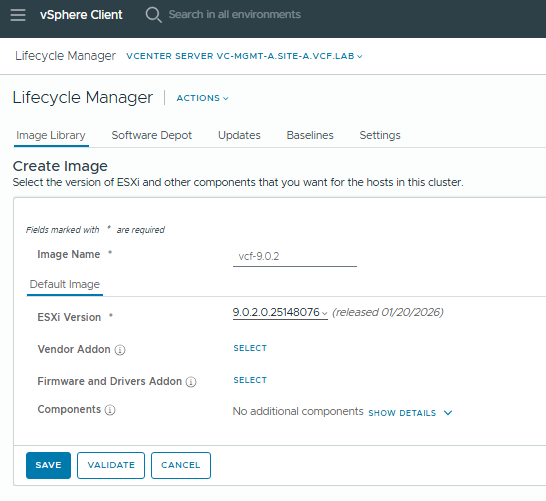
We’ll select 9.0.2.0 here, and we can also add the Vendor Add-On packages for your hardware platform, and any other components you might want to add e.g. storage array multipath/VAAI plugins.
Now, back in Ops / Lifecycle we need to import the image we just created before we can configure it for deployment.
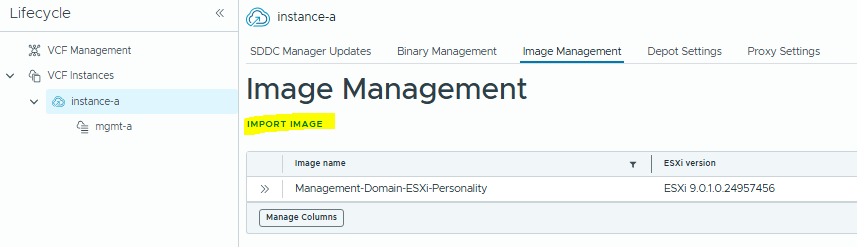
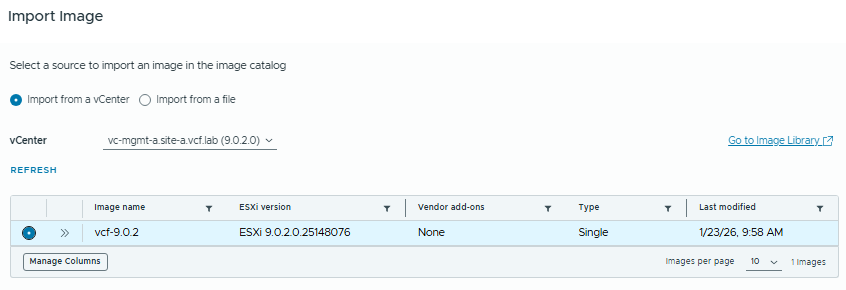
Once this process completes, we’ll go back to Ops / Lifecycle and the Management Instance.
Click Configure Update.
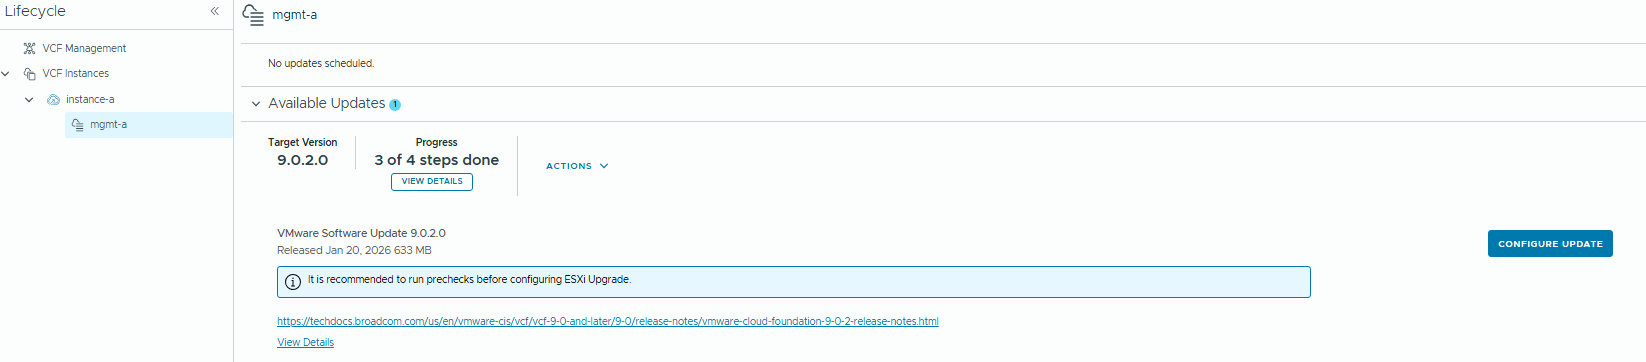
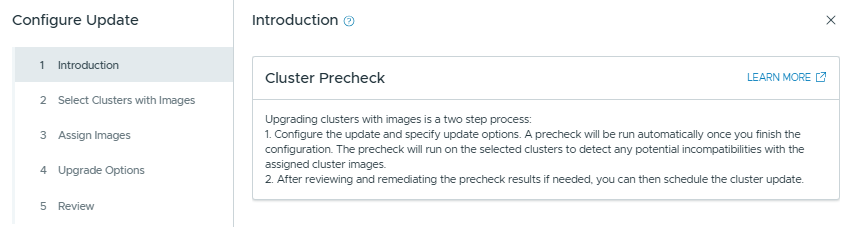
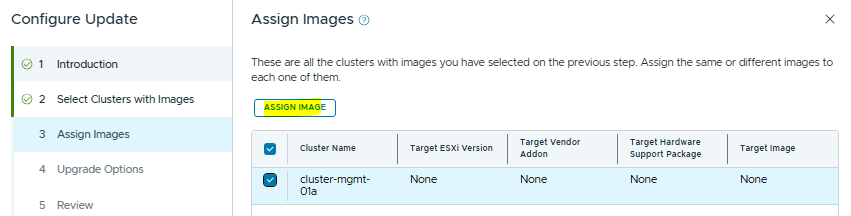
Now we click “Assign Image” and choose the image we imported earlier.
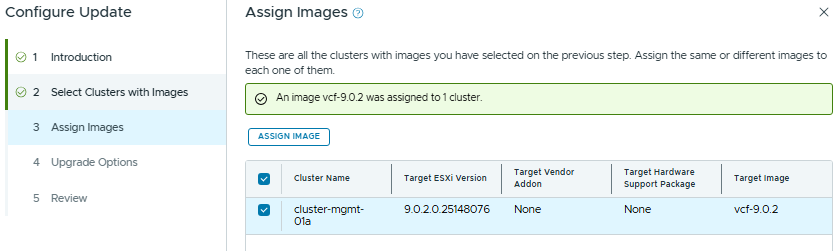
Click through and run the pre-check
When the pre-check completes, we can apply the update.
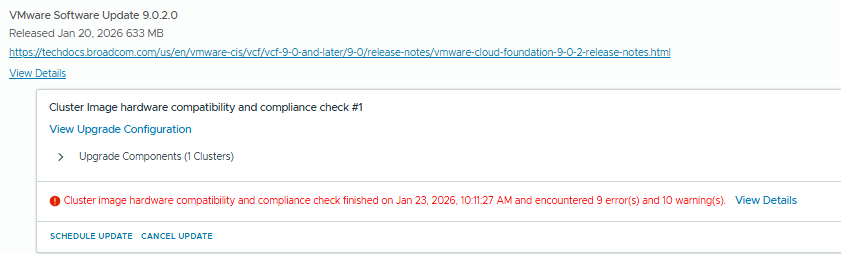
Note: My pre-check has a bunch of errors due to it being a nested environment, in a Production environment with supported hardware you shouldn’t see any issues if everything is configured correctly.
Do not proceed unless you fully understand the implications of the errors and warnings shown in the pre-check.
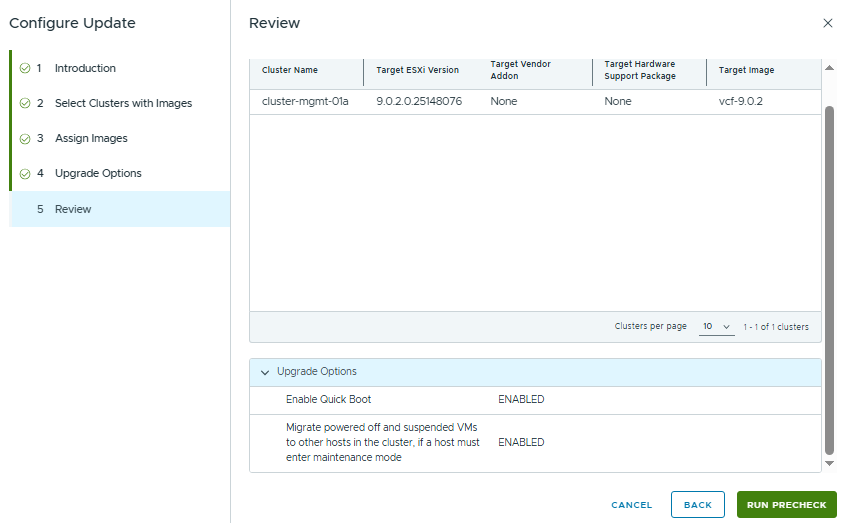
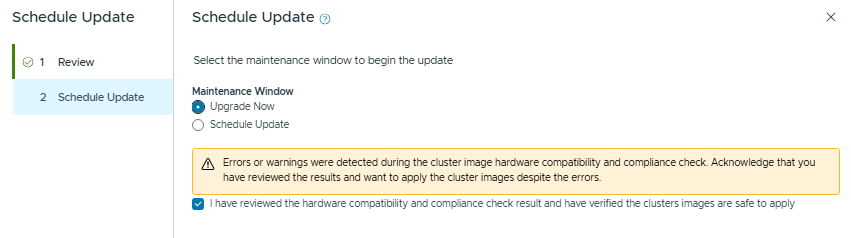
Now we can click “Schedule Update”.
Validate the review screen, click through and then we’ll schedule the update.
When this completes, the management domain upgrade will be finished. From here you can move onto other Workload Domains, or Instances in your environment.
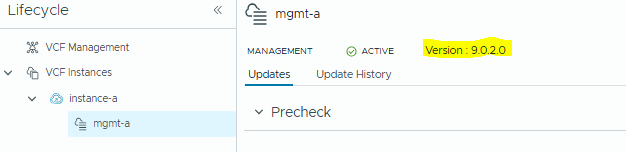
And we’re done!